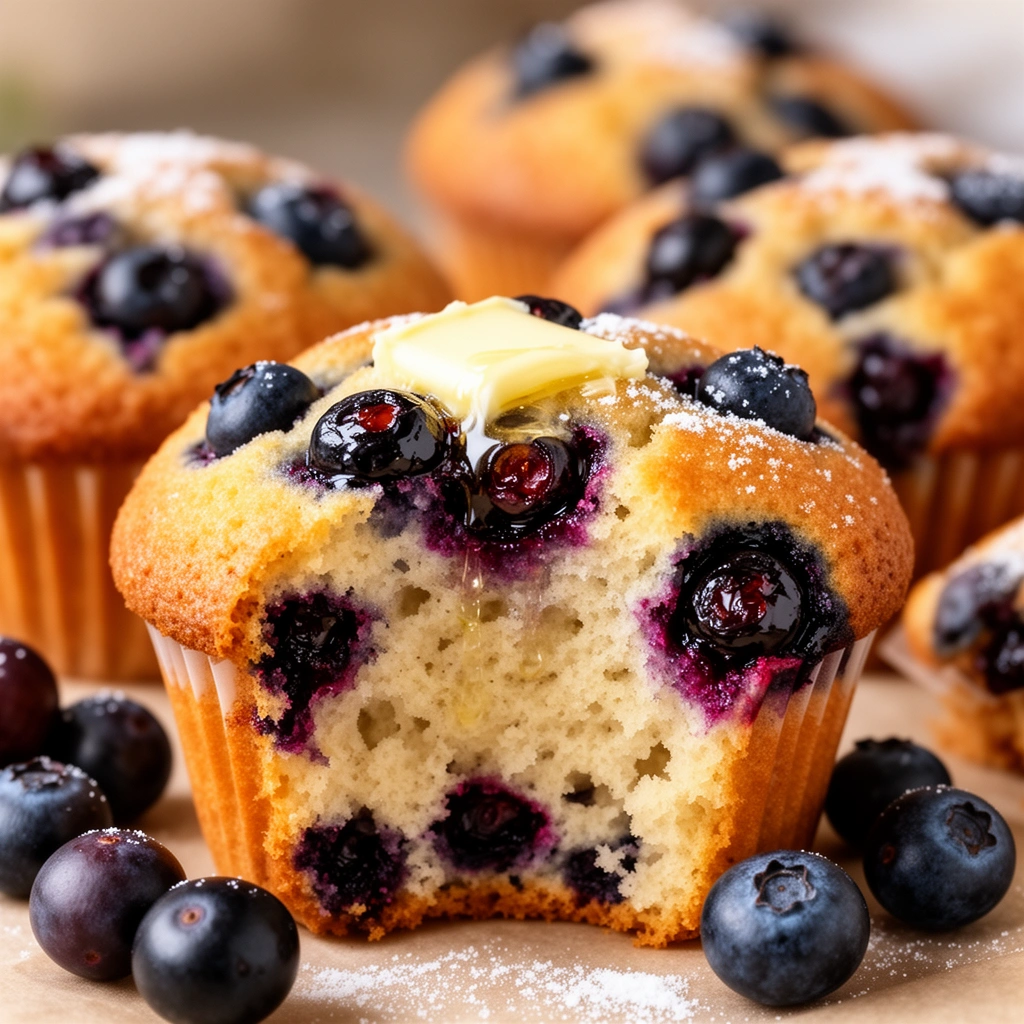
Ever had that moment where you crave a muffin that’s packed with flavor, a little bit tart, and just downright addictive? Yeah, me too. And if you’re anything like me, huckleberry muffins are the answer — they’re like a bite of summer sunshine wrapped in a fluffy package. Whether you’re a seasoned baker or just someone looking to impress friends with a batch of homemade goodies, I’ve got you covered.
So, let’s talk all things huckleberry muffins — from ingredients to baking tips, storage tricks, and why they should become your new go-to treat. Ready? Let’s do this!
Why Huckleberry Muffins Are a Total Winner
First off, if you’ve never tried huckleberries, you’re missing out. These tiny berries pack a punch of flavor — a perfect blend of sweet and tart that elevates any baked good. When baked into muffins, they create a juicy burst with every bite.
Plus, huckleberries are a superfood — loaded with antioxidants and fiber — so eating these muffins isn’t just tasty, it’s kinda good for you too!
And FYI, I personally love how versatile they are. You can enjoy them as breakfast, a snack, or even a dessert. They’re just that good.
Essential Ingredients for Perfect Huckleberry Muffins
Before we start baking, let’s go over what you’ll need. Trust me, these ingredients form the backbone of an amazing muffin.
Basic Ingredients
- 1 1/2 cups all-purpose flour — keeps the muffins light and fluffy
- 3/4 cup granulated sugar — adds just the right sweetness
- 2 teaspoons baking powder — lifts the muffins
- 1/2 teaspoon baking soda — balances acidity
- 1/4 teaspoon salt — enhances flavor
- 1/2 cup unsalted butter, melted — for richness
- 2 large eggs — bind everything together
- 1 teaspoon vanilla extract — adds depth
- 1/2 cup whole milk — keeps batter moist
Huckleberries
- 1 to 1 1/2 cups fresh or frozen huckleberries — adjust based on how berry-heavy you want your muffins
Note: If you’re using frozen huckleberries, don’t thaw them before mixing. This keeps them from turning your batter purple and helps prevent it from turning into a berry mess.
Step-by-Step: How to Make Huckleberry Muffins
Now, onto the fun part — baking! I promise, once you get the hang of it, these muffins will become a regular in your kitchen.
1. Preheat Your Oven and Prep Your Pan
Set your oven to 375°F (190°C). Line a muffin tin with paper liners or grease it well. I prefer liners for easy cleanup — no sticking, no fuss.
2. Mix the Dry Ingredients
In a large bowl, whisk together flour, sugar, baking powder, baking soda, and salt. This ensures everything is evenly distributed and gives your muffins a consistent rise.
3. Combine the Wet Ingredients
In a separate bowl, whisk the eggs, melted butter, vanilla, and milk until smooth. I love using a big measuring cup for this — makes pouring into the dry ingredients a breeze.
4. Bring It All Together
Pour the wet mixture into the dry ingredients. Gently fold everything together with a spatula, just until combined. Don’t overmix — a few lumps are totally okay. Overmixing can make muffins dense and tough.
5. Toss in the Huckleberries
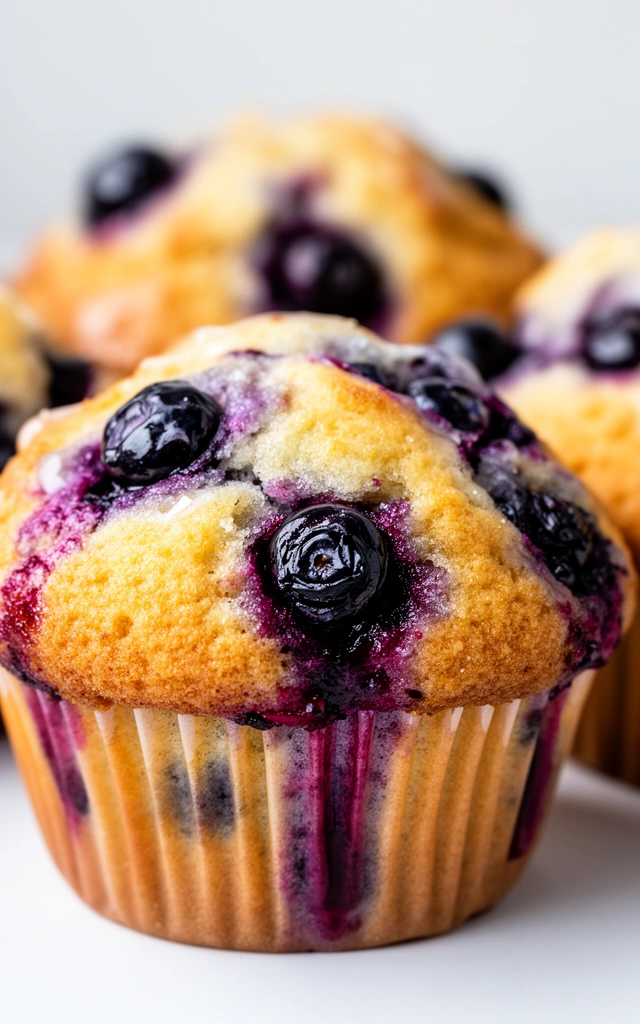
Fold in the berries carefully. If you want extra berry bursts, sprinkle some on top before baking too. The berries will stain the batter a little, which is totally normal and adds to the rustic look.
6. Fill the Muffin Tin
Use a large spoon or ice cream scoop to fill each muffin cup about 3/4 full. This way, they won’t overflow, and you get nice domed muffins.
7. Bake to Perfection
Pop them into the oven and bake for 20-25 minutes. Check with a toothpick — if it comes out clean, you’re good. The tops should be golden, and the smell will make your kitchen smell like a berry patch.
8. Cool and Enjoy
Let the muffins cool in the pan for 5 minutes, then transfer to a wire rack. They’re best enjoyed warm or at room temperature.
Tips for Achieving Muffin Magic
- Don’t overmix — it’s the cardinal sin of muffin making. Keeps them tender.
- Use fresh berries if possible. They add more flavor and juiciness.
- Add a sprinkle of sugar on top before baking for a sweet crust.
- For extra zing, add a pinch of lemon zest to the batter.
Storing Your Huckleberry Muffins
Now, let’s talk storage because nothing is worse than baking a batch and having it go stale overnight.
How to Store
- Room temperature: Keep muffins in an airtight container for up to 2 days. They’ll stay moist but may lose some freshness.
- Refrigerate: For up to 5 days, store in a sealed container or zip-top bag. Warm them up a bit before eating for that just-baked feel.
- Freeze: Wrap each muffin individually in plastic wrap, then toss in a freezer bag. They last up to 3 months. To reheat, microwave for 20-30 seconds or bake at 350°F for 10 minutes.
Bonus Tip
If you’re planning to keep muffins for a while, I recommend freezing them without glaze or toppings — they freeze better plain, and you can add fresh fruit or a drizzle of honey when serving.
Variations and Add-Ins
Want to mix things up? Here are a few ideas:
- Add nuts like chopped pecans or walnuts for crunch.
- Mix in chocolate chips for a sweet surprise.
- Incorporate lemon zest for a citrusy twist.
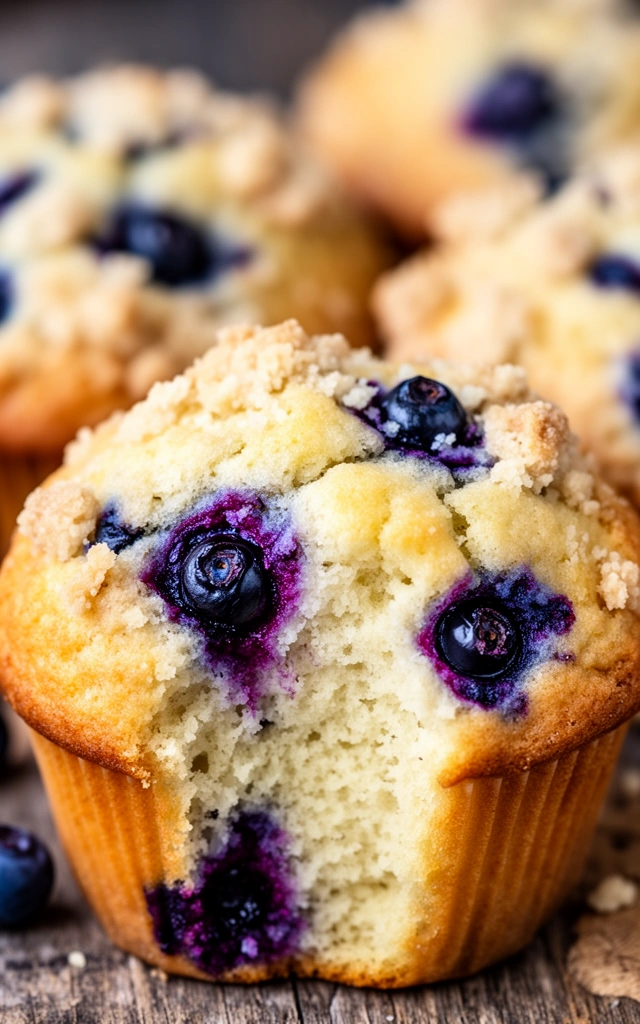
- Top with streusel for a crumbly topping that adds texture.
Why These Muffins Will Be Your Favorite
Honestly, these muffins hit all the right notes: tender crumb, juicy berries, and a touch of tartness that keeps you coming back for more. Plus, they’re super easy to make, which means no excuse not to whip up a batch whenever the mood strikes.
And let’s be real, baking from scratch feels pretty awesome — it’s like giving yourself a big high-five. Plus, your friends and family will thank you for the delicious treat.
Wrapping It Up
So, there you have it — the perfect huckleberry muffin recipe that’s easy, tasty, and totally customizable. Whether you’re enjoying it with coffee or packing it in a lunchbox, these muffins never disappoint.
Next time you’re craving something sweet and tangy, remember this recipe. Trust me, once you try making them at home, you’ll never want store-bought muffins again.
Go ahead, give it a shot! And don’t forget to share your baking adventures — I love hearing about your berry-filled triumphs. Happy baking! 😊
Pssst, if you want to boost your baking game even more, try experimenting with different berries or adding a dollop of cream cheese in the center before baking. The possibilities are endless!
Leave a Reply