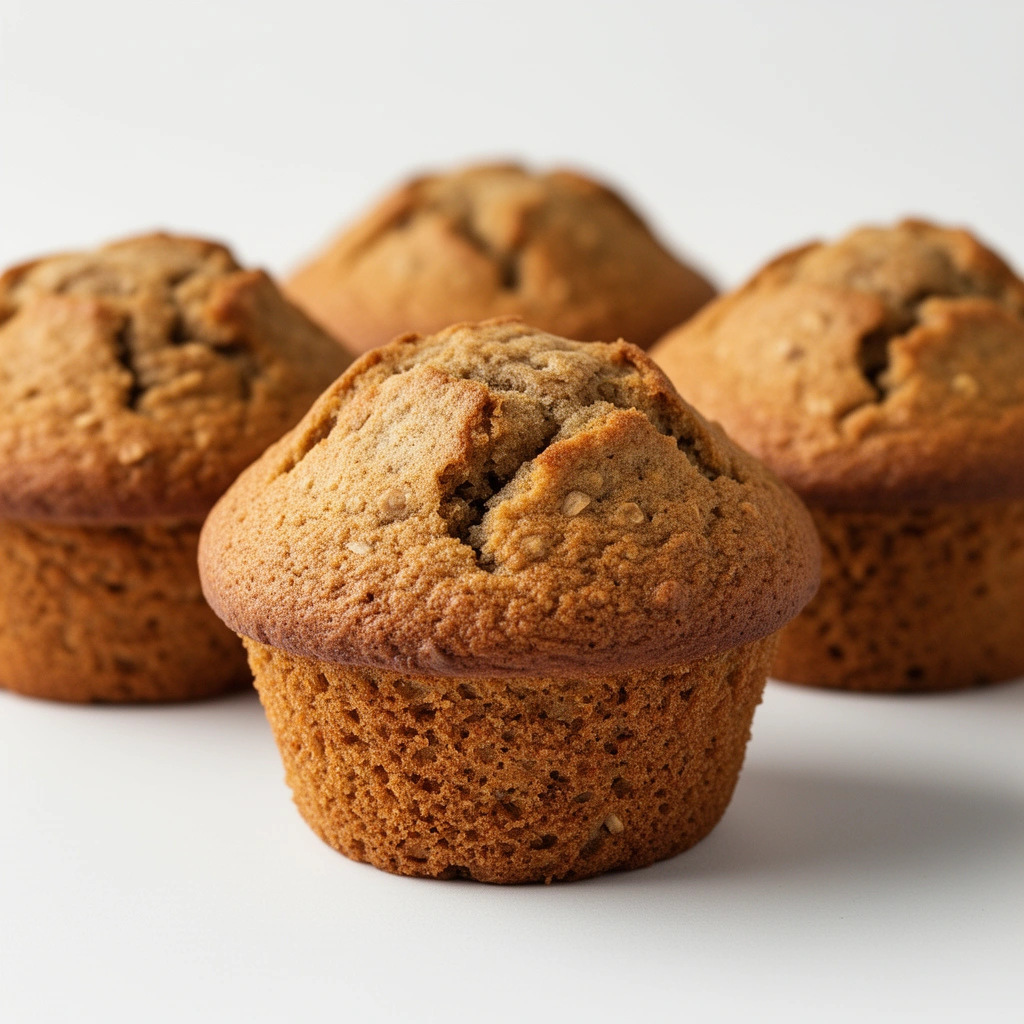
Ever find yourself craving a muffin that’s a little different from the usual blueberry or banana bread? Something that’s hearty, a bit nutty, and secretly good for you? Well, let me introduce you to buckwheat muffins! Yep, you read that right—buckwheat, not wheat, and definitely not your average muffin. These little gems are packed with flavor, fiber, and a surprising amount of protein. Plus, they’re super easy to whip up, so no excuses! Ready to shake up your baking game? Let’s go!
What Are Buckwheat Muffins Anyway?
Before we get into the nitty-gritty, let’s clarify what makes buckwheat muffins so special. Buckwheat isn’t actually wheat—it’s a seed related to rhubarb, and it’s naturally gluten-free. That means these muffins are a fantastic choice if you’re gluten-sensitive or just want to add a little variety to your baked goodies.
Why you should give them a shot:
- Rich, nutty flavor that’s way more interesting than plain ol’ flour.
- High in protein and fiber, making them filling and satisfying.
- Gluten-free (if you use buckwheat flour alone), so friendly for many dietary needs.
- Versatile—you can add chocolate chips, berries, nuts, or keep it simple.
Ingredients You’ll Need to Make Buckwheat Muffins
Here’s a straightforward list that’s easy to stock up on:
- 1 ½ cups buckwheat flour (preferably organic)
- 1 teaspoon baking powder
- ½ teaspoon baking soda
- ¼ teaspoon salt
- 2 large eggs
- ½ cup honey or maple syrup (for that natural sweetness)
- ½ cup melted coconut oil or butter
- ½ cup milk (dairy or plant-based)
- 1 teaspoon vanilla extract
- Optional extras: blueberries, chopped nuts, chocolate chips, or dried fruit
Pro tip: If you want to bump up the protein content, toss in some Greek yogurt or a scoop of protein powder. FYI, I love adding a handful of walnuts for crunch!
How to Make Buckwheat Muffins: Step-by-Step
Trust me, these muffins come together faster than you can scroll through your feed. Here’s how:
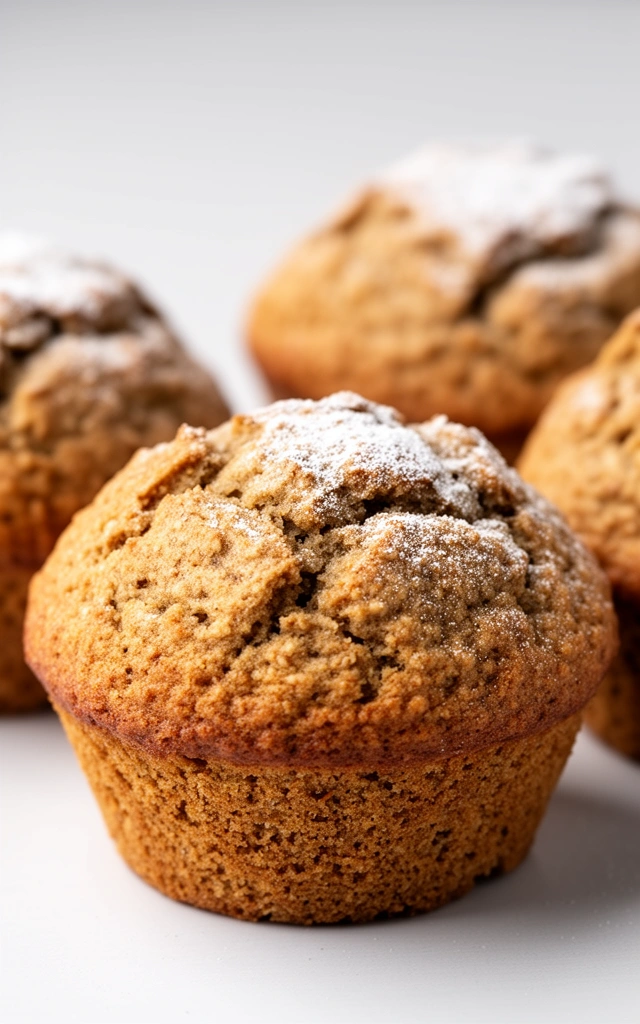
1. Preheat and Prepare
Set your oven to 375°F (190°C). Line a muffin tin with paper liners or grease it lightly—no sticking, no fuss.
2. Mix the Dry Ingredients
In a large bowl, whisk together the buckwheat flour, baking powder, baking soda, and salt. Make sure everything’s evenly distributed—no one wants a surprise salty bite.
3. Whisk the Wet Ingredients
In a separate bowl, beat the eggs. Then add honey or maple syrup, melted coconut oil, milk, and vanilla. Whisk until smooth and well combined.
4. Combine Wet and Dry
Pour the wet mixture into the dry ingredients. Gently fold until just combined—don’t overmix or your muffins might turn out dense. If you’re adding extras like berries or nuts, fold them in now.
5. Fill the Muffin Tin
Scoop the batter into your muffin cups, about ¾ full. This way, they’ll have room to rise and get that perfect muffin top.
6. Bake
Pop them into the oven and bake for 18–22 minutes. You’ll know they’re done when a toothpick inserted in the center comes out clean. Bonus: Your kitchen will smell like a cozy bakery.
7. Cool and Enjoy
Let the muffins cool in the pan for 5 minutes, then transfer to a wire rack. They’re best enjoyed warm, but they keep well too—more on that later.
Tips for Perfect Buckwheat Muffins
- Don’t overmix—less stirring equals fluffier muffins.
- Customize: Add your favorite mix-ins for variety.
- Use fresh ingredients—baking powder and baking soda lose potency over time.
- Make it dairy-free: Swap milk and butter with plant-based alternatives.
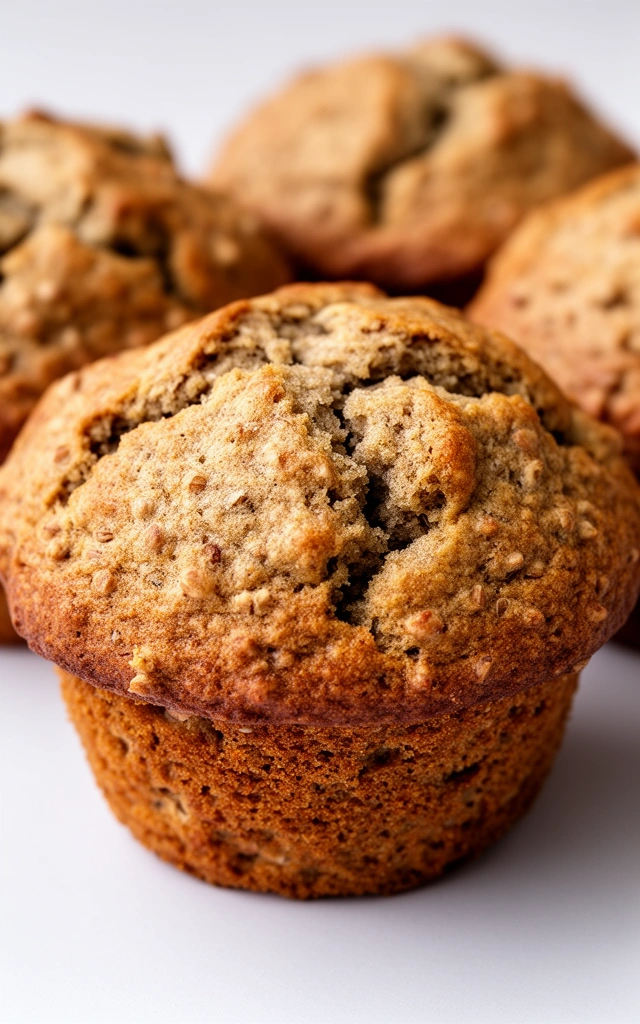
Storing and Freezing Your Muffins
Here’s the scoop on keeping these muffins fresh:
How to Store
- At room temperature: Store in an airtight container for up to 2 days.
- In the fridge: Keep in an airtight container or zip-top bag for up to a week.
- In the freezer: Wrap individually in plastic wrap or foil, then place in a freezer-safe bag. They’ll keep for up to 3 months.
How to Reheat
- Microwave: Zap for about 20–30 seconds. Perfect for a quick breakfast.
- Oven: Warm at 350°F (175°C) for 10 minutes if you want to bring back that fresh-baked feel.
Pro tip: Thaw frozen muffins overnight in the fridge for best results.
Why You’ll Love These Muffins
Honestly, I’ve baked a lot of muffins, and buckwheat ones are in my top 3. They’re:
- Nutty and satisfying: No more feeling hungry an hour after breakfast.
- Healthier: Packed with fiber and protein, they keep your energy steady.
- Flexible: You can add any mix-ins or flavors you like.
- Easy to make: Even if you’re not a baking pro, these come together effortlessly.
Plus, they’re a hit with kids and adults alike. I once brought them to a brunch, and everyone asked for the recipe. That’s a win in my book!
Final Thoughts: Are Buckwheat Muffins Worth It?
Absolutely. These muffins are a little unexpected, a little wholesome, and totally delicious. They’re perfect for breakfast, snacks, or even a quick dessert. Plus, with so many customization options, they never get boring.
Next time you’re craving something different, give buckwheat muffins a shot. I promise, once you try them, they’ll become a regular in your baking rotation. Maybe even your new favorite guilt-free treat 🙂
Ready to Bake?
Gather your ingredients, preheat that oven, and let’s get baking! If you try this recipe, tag me on Instagram or drop a comment below—I love hearing about your baking adventures. Happy muffin-making!
Leave a Reply