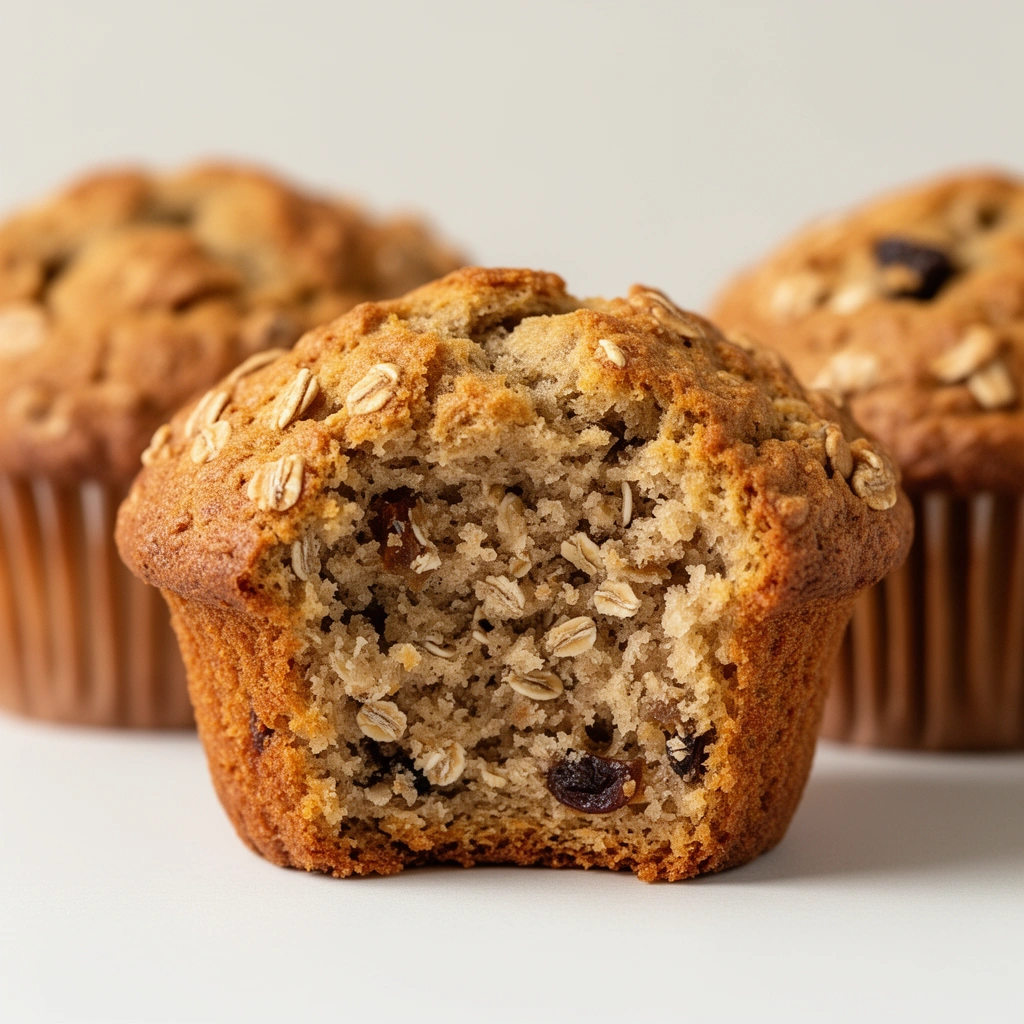
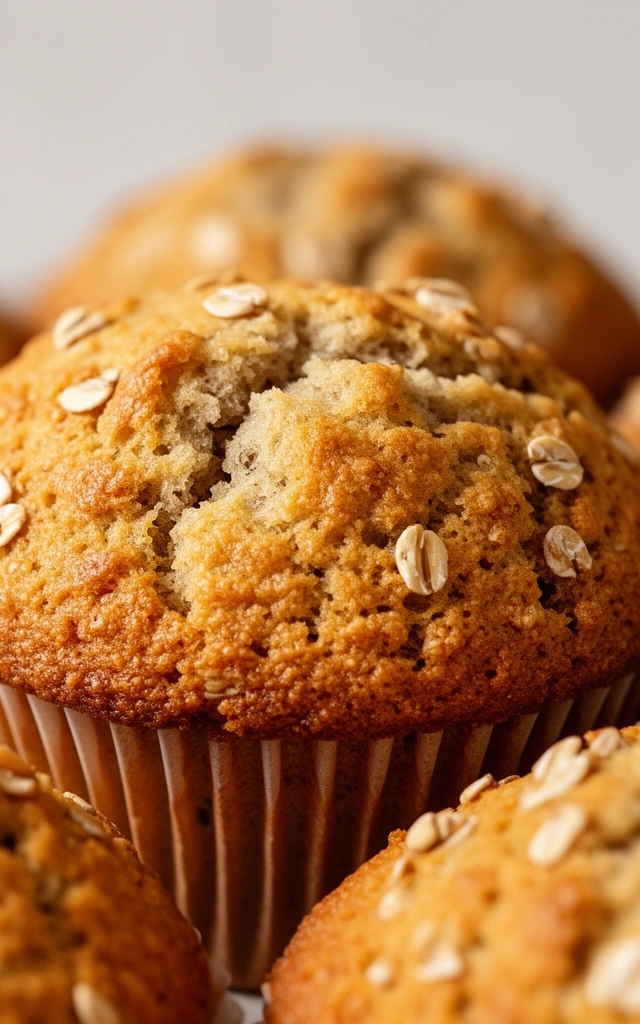
Alright, friend, let’s be real. If you’re here, you probably love the idea of starting your day with something wholesome, filling, and maybe just a little bit nostalgic. Enter bran muffins — the underrated hero of morning routines. They’re simple, tasty, and packed with fiber — aka your gut’s best friend.
I’ve been baking these forever (okay, maybe not forever, but long enough to know the ins and outs). Trust me, once you get the hang of them, you’ll want to make these on repeat. So, grab your apron, and let’s dive into everything you need to know about making the perfect bran muffins.
Why You’ll Love Bran Muffins
Before I get into the nitty-gritty, let’s talk about why these muffins should be your new breakfast staple.
- Super filling: Thanks to the fiber-rich bran, they keep you full for hours.
- Customizable: Add your favorite nuts, fruits, or even chocolate chips.
- Healthy-ish: They’re not perfect health food, but they’re way better than a donut or sugary cereal.
- Easy to make: No fancy ingredients or techniques required. Even if you’re a baking newbie, you’ll nail these.
Ingredients You Need
Here’s the lineup for making classic bran muffins. FYI, this recipe makes about 12 muffins, so you’ll have enough to share (or not — I won’t judge).
Basic Ingredients
- 1 1/2 cups of wheat bran — the star! It gives the muffins their signature texture.
- 1 cup of all-purpose flour — helps hold everything together.
- 1/2 cup of brown sugar — for a touch of sweetness.
- 1 teaspoon of baking soda
- 1 teaspoon of baking powder
- 1/2 teaspoon of salt
- 1 cup of milk — I prefer whole milk for richness, but you can swap in almond or soy if you’re feeling trendy.
- 2 large eggs — binding agents and all that.
- 1/4 cup of vegetable oil — keeps things moist.
- 1 teaspoon of vanilla extract — optional, but highly recommended for that extra flavor punch.
Optional Add-ins
- 1/2 cup of chopped nuts (walnuts, pecans, almonds)
- 1/2 cup of dried fruits (raisins, cranberries)
- 1/2 cup of fresh berries or mashed bananas — for a fruity twist.
- Chocolate chips — because, hey, sometimes you need a little sweetness.
Step-by-Step: How to Make Perfect Bran Muffins
Ready to take your breakfast game up a notch? Here’s a straightforward, foolproof method.

1. Preheat Your Oven
Set your oven to 375°F (190°C). Line a muffin tin with paper liners or lightly grease with butter or non-stick spray. This step keeps your muffins from sticking and makes cleanup a breeze.
2. Mix the Dry Ingredients
In a large bowl, whisk together the wheat bran, flour, brown sugar, baking soda, baking powder, and salt. This ensures even distribution of the leavening agents and flavor.
3. Combine Wet Ingredients
In a separate bowl, beat the eggs. Add the milk, vegetable oil, and vanilla extract. Mix until smooth. I find that whisking everything together makes the batter blend seamlessly.
4. Combine Wet and Dry
Pour the wet mixture into the dry ingredients. Stir gently — do not overmix. The batter should be slightly lumpy; overmixing can make the muffins dense instead of fluffy.
5. Fold in Extras
If you’re adding nuts, dried fruits, or chocolate chips, fold them in now. This step is where you can get creative and personalize your muffins.
6. Fill the Muffin Tin
Scoop the batter into your prepared muffin cups. Fill each about 3/4 full to give them room to rise.
7. Bake
Pop the muffins into the oven and bake for 15–20 minutes. Check for doneness by inserting a toothpick into the center — it should come out clean. If it’s wet, give them a few more minutes.
8. Cool and Enjoy
Let the muffins cool in the tin for 5 minutes before transferring them to a wire rack. This prevents sogginess and helps them set nicely.
Tips for Making Your Best Bran Muffins
- Don’t overmix: Remember, lumpy batter is good! Overmixing can lead to dense muffins.
- Use fresh baking soda and powder: Old leavening agents won’t give you that perfect rise.
- Customize to your taste: Feel free to swap in different add-ins. I personally love adding a handful of blueberries or chopped walnuts.
- Adjust sweetness: If you prefer less sugar, cut back to 1/3 cup. For extra sweetness, sprinkle a little more on top before baking.
Storing Your Bran Muffins
Once cooled, these muffins stay fresh longer if you store them properly. Here’s how to keep them tasting their best:
- Room temperature: Store in an airtight container for up to 2 days. Keep them out of direct sunlight or heat sources.
- Refrigerate: For up to a week, place muffins in an airtight container or zip-top bag. They might lose a bit of their softness, but reheating will fix that.
- Freeze: Wrap individually in plastic wrap or foil, then place in a freezer-safe bag. They’ll last for up to 3 months. To reheat, microwave for about 20 seconds or warm in the oven at 350°F for 10 minutes.
Pro tip: If you want to save some prep time, bake a batch on Sunday and enjoy them all week. They make for a quick breakfast, snack, or even a late-night treat.
Why These Muffins Are Better Than Store-Bought
Honestly, homemade bran muffins beat the store-bought versions hands down. You control the ingredients, skip the preservatives, and can add your favorite goodies. Plus, the smell of baking muffins in your kitchen? Pure happiness.
Some store-bought muffins can be overly sweet or packed with artificial flavors. Making your own means you get wholesome goodness in every bite. And trust me, once you try this recipe, you’ll never want to go back.
Final Thoughts
There you have it — a hearty, delicious, and customizable recipe for bran muffins that’ll make your mornings brighter. They’re perfect for busy weekdays or lazy weekends when you want something comforting and nourishing.
Next time you’re craving a quick breakfast or an afternoon snack, whip up a batch. It’s easy, satisfying, and totally worth the effort. Plus, you get bragging rights for baking something so wholesome.
So, what are you waiting for? Grab those ingredients, and let’s get baking! Your gut (and taste buds) will thank you.
Ready to experiment? Add your favorite ingredients, tweak the sweetness, or try different flours. The beauty of homemade is that it’s all about your taste. Happy baking! 😊
Leave a Reply