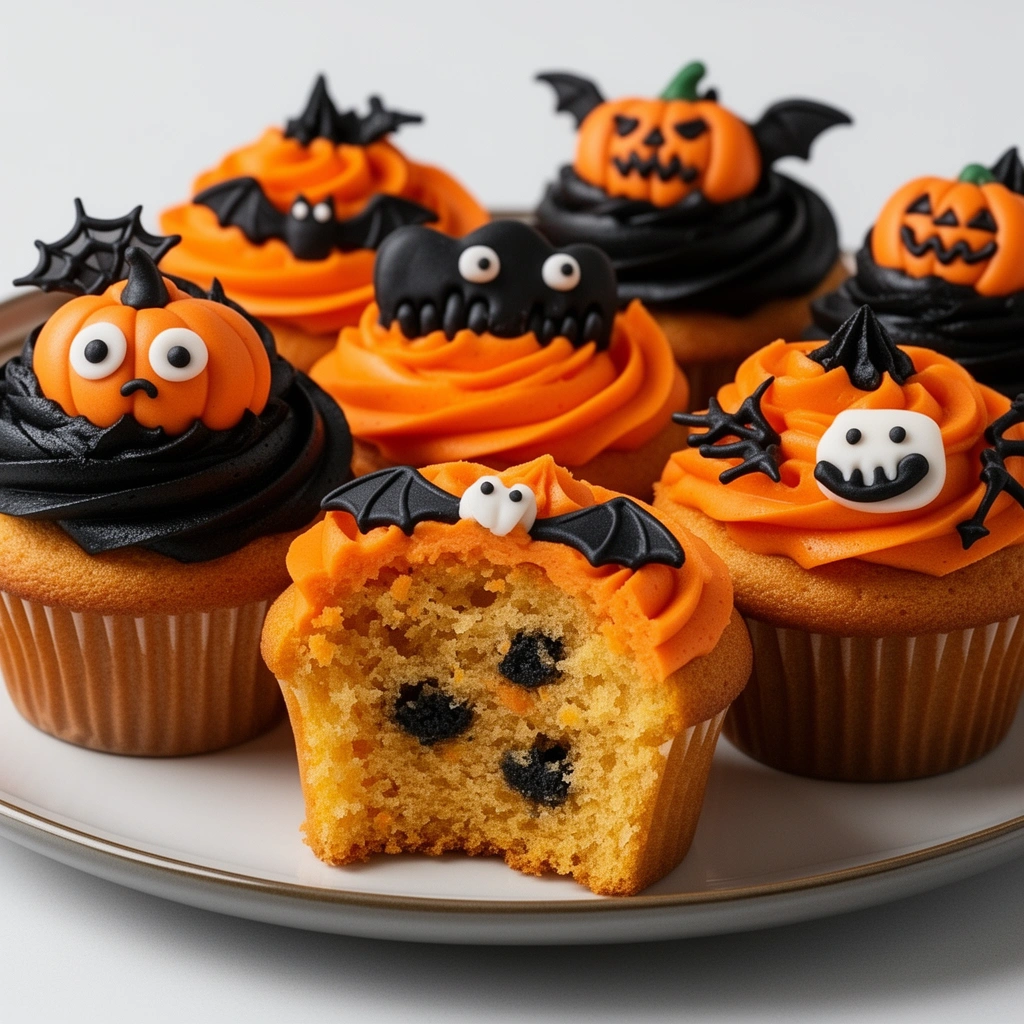
Hey there, fellow baking enthusiast! If you’re like me, Halloween is the perfect excuse to whip up some fun, creepy, and downright delicious treats. And what’s better than Halloween muffins? They’re easy to make, adorable, and a hit with kids and adults alike. Plus, they give you a chance to unleash your inner pastry artist — think spooky faces, ghoulish colors, and maybe even a little bit of edible “blood” (wink, wink).
So, whether you’re hosting a spooky party or just want to add some festive flair to your breakfast, I’ve got you covered. I’ll walk you through everything — from the ingredients to the decorating tricks — so you can create Halloween muffins that are as creepy as they are tasty. Ready? Let’s get baking!
Why Halloween Muffins Are a Must-Have
Before we dive into the how-tos, let me tell you why Halloween muffins are a total game changer. They’re:
- Super versatile — You can make them fruity, chocolaty, or even vegan.
- Fun to decorate — Think ghosts, spiders, or little monsters.
- Perfect for sharing — Sweet treats always bring people together.
- A great way to use leftovers — Got some bananas or berries? Perfect!
Plus, making Halloween-themed baked goods gives you a chance to get creative and, honestly, have a little fun in the kitchen. And FYI, they’re way easier than carving a pumpkin, IMO. 😉
Ingredients for Spooky, Scrumptious Halloween Muffins
Let’s get our ingredient game on point. Here’s what you’ll need for about 12 muffins:
Basic Muffin Batter
- 1 ¾ cups all-purpose flour
- ½ cup granulated sugar
- 1 tablespoon baking powder
- ½ teaspoon salt
- ½ cup unsalted butter (melted)
- 2 large eggs
- 1 cup milk (dairy or plant-based)
- 1 teaspoon vanilla extract
For the Halloween Vibe
- Food coloring (red, green, purple, or black)
- Assorted candies (like M&Ms, gummy worms, or candy eyes)
- Chocolate chips or chunks
- Icing or frosting (white, black, or orange)
- Edible glitter or sprinkles (for extra spookiness)
Optional Add-ins
- Pureed pumpkin or banana (for moistness and flavor)
- Fresh berries or chopped nuts
Step-by-Step: How to Make Halloween Muffins
Now, let’s get into the good stuff — baking! I promise, it’s easier than it sounds.
1. Prep Your Oven and Muffin Tin
Set your oven to 375°F (190°C). Line a muffin tin with paper liners or grease it well. This part is crucial — nobody wants their muffins to stick and ruin the fun.
2. Mix the Dry Ingredients
In a large bowl, whisk together the flour, sugar, baking powder, and salt. This creates a fluffy foundation for your muffins.
3. Whisk the Wet Ingredients
In a separate bowl, beat the eggs, then add the melted butter, milk, and vanilla. Mix until smooth. If you want to add mashed banana or pumpkin, do it here.
4. Combine Wet and Dry
Pour the wet ingredients into the dry ones. Gently fold everything together with a spatula. Don’t overmix — a few lumps are okay. Overmixing can lead to dense muffins, which nobody wants.
5. Add Color and Fun Stuff
Now, here’s where the magic happens:
- Divide the batter into separate bowls if you’re using multiple colors.
- Add food coloring to each bowl and stir until vibrant.
- Fold in candies, chocolate chips, or nuts.
6. Fill the Muffin Cups
Spoon the batter into your muffin tin, filling each about ¾ full. For extra fun, you can swirl two colors together for a marbled effect.
7. Decorate Before Baking
If you’re feeling fancy, add eyeball candies, gummy worms, or sprinkles on top before baking. It’s all about that spooky visual appeal!
8. Bake and Cool
Bake for 18-20 minutes. Check doneness with a toothpick — it should come out clean. Let the muffins cool in the tin for 5 minutes, then transfer to a wire rack.
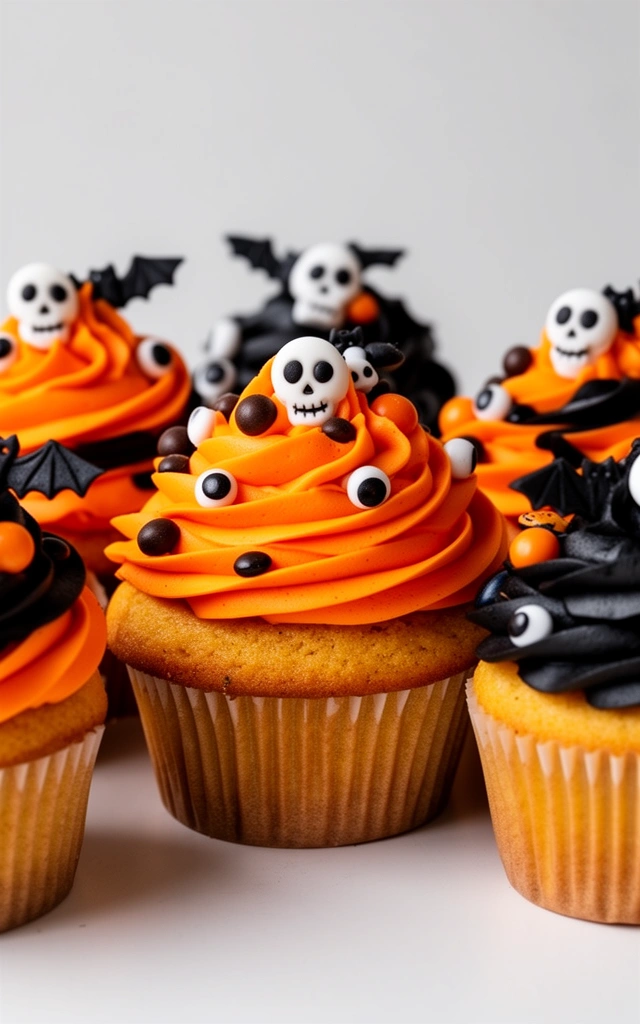
Decorating Your Halloween Muffins
This is where you can go wild. Here are some easy, eye-catching ideas:

Ghostly Muffins
- Frost with white icing.
- Use chocolate chips for eyes and a mouth.
- Optional: add mini marshmallows for ghost “body.”
Monster Muffins
- Cover with bright frosting in crazy colors.
- Stick on candy eyes.
- Use licorice or fruit leather for mouths or hair.
Spooky Spider Muffins
- Top with black icing or chocolate drizzle.
- Place gummy worms or licorice legs.
- Add tiny candy eyes for the full creepy effect.
Gory Blood Effect
- Drizzle red icing or fruit syrup over the muffins.
- For extra grossness, sprinkle edible glitter that looks like “blood splatter.”
Storing and Reusing Your Halloween Muffins
Once your masterpieces are complete, you’ll want to keep them fresh for as long as possible. Here’s the scoop:
- Room temperature: Store in an airtight container for up to 2 days. Perfect for last-minute parties.
- Refrigerator: Keep in a sealed container for up to 5 days. Just reheat in the microwave for a few seconds to regain that fresh-out-of-the-oven warmth.
- Freezer: Wrap individually or store in a freezer-safe container for up to 3 months. Thaw at room temp and reheat for that just-baked vibe.
Pro tip: If you plan to reheat, cover with a damp paper towel to keep the muffins moist. Nobody wants dry Halloween muffins, FYI.
Tips and Tricks for Perfect Halloween Muffins
- Use room temperature ingredients — They mix better and give you a fluffier muffin.
- Don’t overmix the batter — As I said, lumps are okay, but overmixing ruins the texture.
- Be creative with decorations — Use what you have around the house. Edible googly eyes? Yes, please!
- Adjust sweetness — If you prefer less sugar, cut back slightly or add more fruit or tart candies.
Final Thoughts: Make It Your Own Spooky Masterpiece
There you have it! Halloween muffins that will impress your friends and satisfy your sweet tooth. Remember, the fun is in the decorating, so don’t stress if they don’t look perfect — they’ll still taste fantastic. Plus, baking with a little humor and creativity makes the process all the more enjoyable.
So, get your ingredients ready, turn on some spooky tunes, and start baking. I promise, these muffins will be the highlight of any Halloween celebration — and they’re way more fun than just handing out candy. Happy haunting and happy baking! 🎃👻
Feeling inspired? Share your creations with me! I’d love to see your spooky masterpieces. And if you’re feeling extra brave, try adding a little “bloody” strawberry sauce or edible glitter for that extra fright factor. Now go scare up some treats!
Leave a Reply